
Create Pool Metadata
Update yourconstants.ts file to include the pool metadata so we can reuse it
throughout this tutorial.
constants.ts
Have a Keypair set up, or set up your custom wallet interface using the wallet provider of your choice.
For this tutorial, I’m using a wallet object created with Keypair.generate() from @solana/web3.js.
Get Pair On-chain Metadata
Now let’s write the main logic. Create a new file calledadding-liquidity.ts. Here we will add
the following logic.
Use the sarosDLMM instance to get the pair’s on-chain metadata. This provides the current active
bin index of the pool, which is needed to construct our bin array.
Maintain a Global Transaction Queue
We will sign and send many transactions to add liquidity to the pool. For that, we’ll use a global transaction queue that stores all transactions.Prepare Bin and Vault Accounts
- Create a temporary
Transactionobject that contains instructions to load bin and vault accounts.
- Select the bin range where we want to add liquidity.
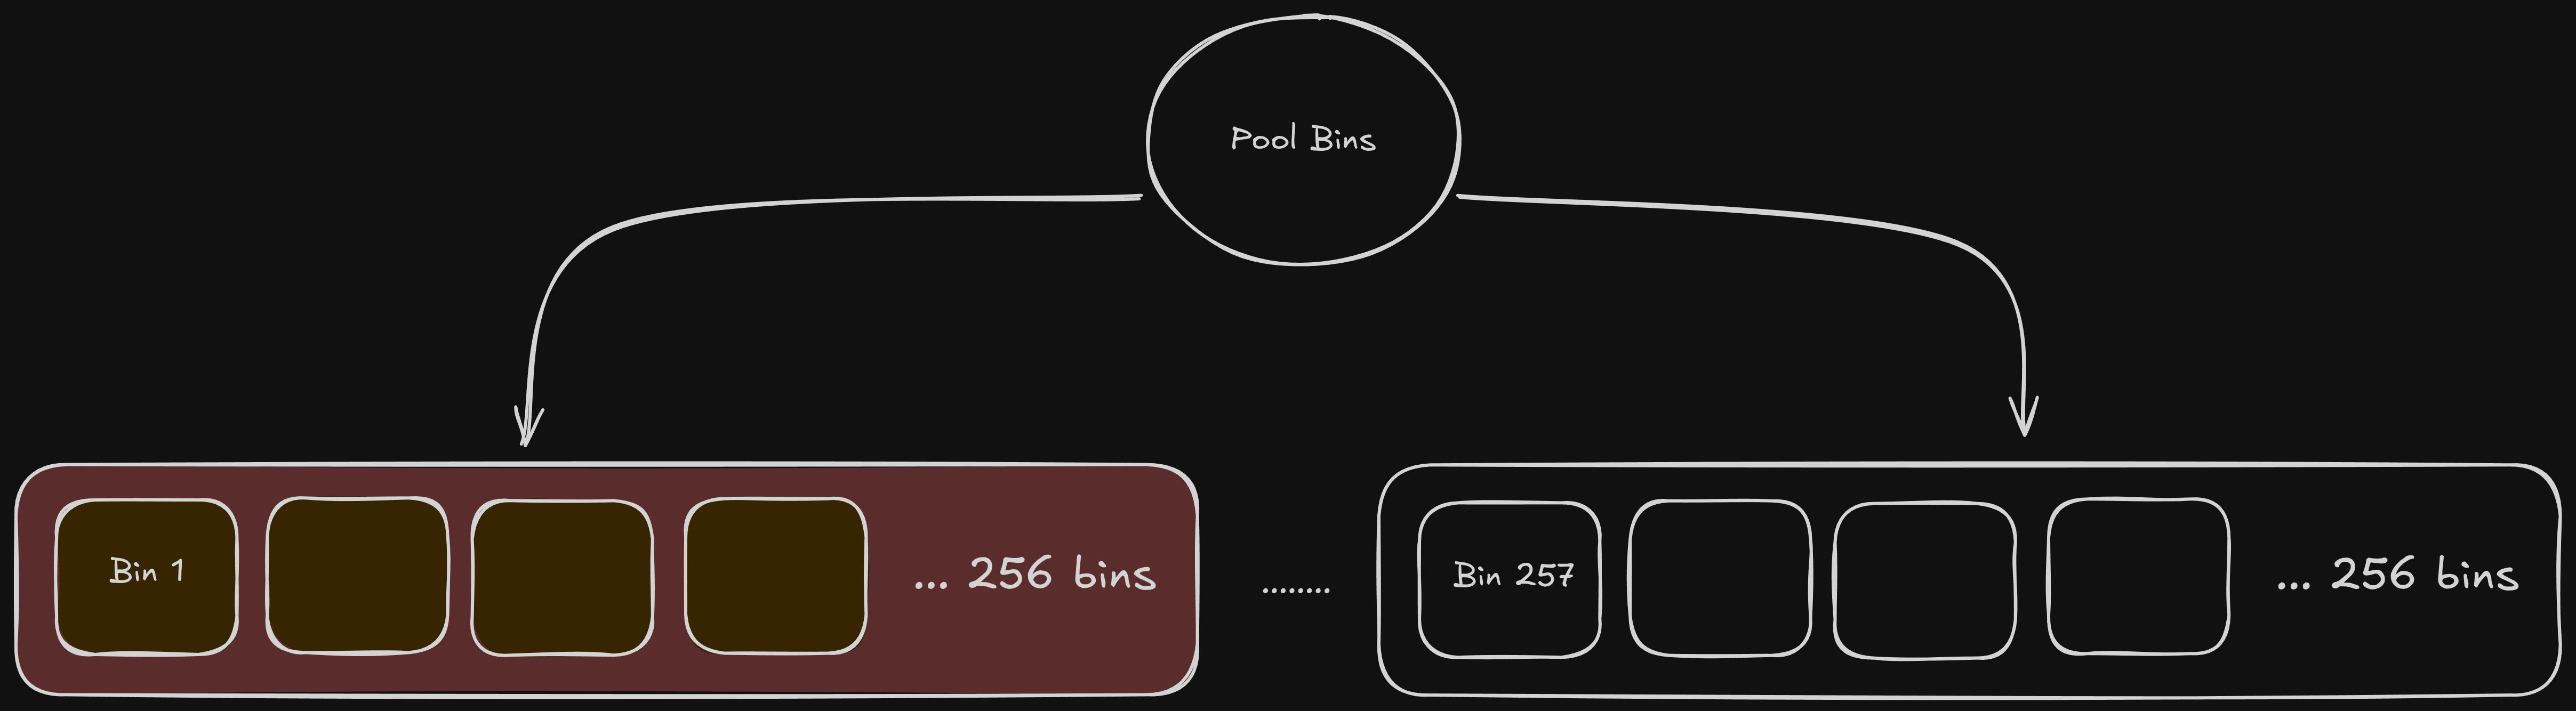
- Bins are structured in arrays, with each array containing 256 bins. So we have to find the bin arrays containing the bins for the selected bin range.
- For the required bin arrays, check whether they exist on-chain. If not, create them.
The
getBinArraymethod checks if the bin array PDA exists on-chain. If not, it builds transaction instructions to create the bin array and updatesbinsAndVaultsTx.
adding-liquidity.ts
- Next, check the pair vault account (ATA) and user vault account (ATA) for the pair. These accounts don’t exist for a newly created pair or for a user interacting with this pair for the first time.
getPairVaultInfo and getUserVaultInfo methods check whether the vault accounts exist on-chain. If not,
they build transaction instructions to create the vault accounts and update binsAndVaultsTx.
adding-liquidity.ts
- Now it’s time to add the built instructions to the global transaction queue.
adding-liquidity.ts
Create User Positions
Now we need to create positions for the user in the required bins, and then add liquidity to those positions.1. Calculate the required positions
- Previously, we represented 256 bins in a
binArray. To add positions, we further divide thebinArrayinto bin groups of 16 bins. A single position covers 16 bins (Saros DLMM standard).
getMaxPosition method to calculate the relative positions (with respect to the active bin) required to add liquidity.
adding-liquidity.ts
- Next, find all existing user positions in the pair.
adding-liquidity.ts
- Choose a distribution strategy to decide how the user should distribute liquidity across the required bins.
We have 3 strategies to distribute liquidity: “BidAsk”, “Curve”, and “Spot”.
adding-liquidity.ts
maxLiquidityDistribution is an array of objects with relativeBinId, distributionX,
and distributionY token percentages.
2. Create positions
For each required relative position, find the mint address, the liquidity distribution of depositing tokens, and the lower and upper bin array index. With the position mint address and bin array indexes, the program will find the bins to add liquidity to. The liquidity distribution determines the percentage of tokens to deposit in that position.- Find the user’s existing position in this bin group.
adding-liquidity.ts
- Calculate the liquidity distribution for this position.
adding-liquidity.ts
- Calculate the bin arrays in which the position is to be created.
adding-liquidity.ts
- Find the mint address of the position.
adding-liquidity.ts
adding-liquidity.ts
Add Liquidity into Positions
In the previous step, we created positions that will hold user liquidity. Now we will add liquidity to those positions.adding-liquidity.ts